A picture of our creek flooding that happened a few weeks back.
Here at Milligan’s Gander Hill Farm we have learned the hard way to try and work with mother nature instead trying to work against her. Take for instance our pond. We have tried to have our pond be clear and full of bass, crappie, blue gill, and channel cat fish, but that hasn’t worked out. Mother nature thinks we should have a Bullhead catfish pond, so thats what we are going to go along with because just like with my wife, mother nature usually gets her way anyway no matter how hard you try otherwise.

Another look at our flooding.
With the flooding that brings in the Bullheads to our pond and the river otters eating our other game fish, we come the the conclusion its a waste of time and money trying to keep our pond stocked with the other game fish.

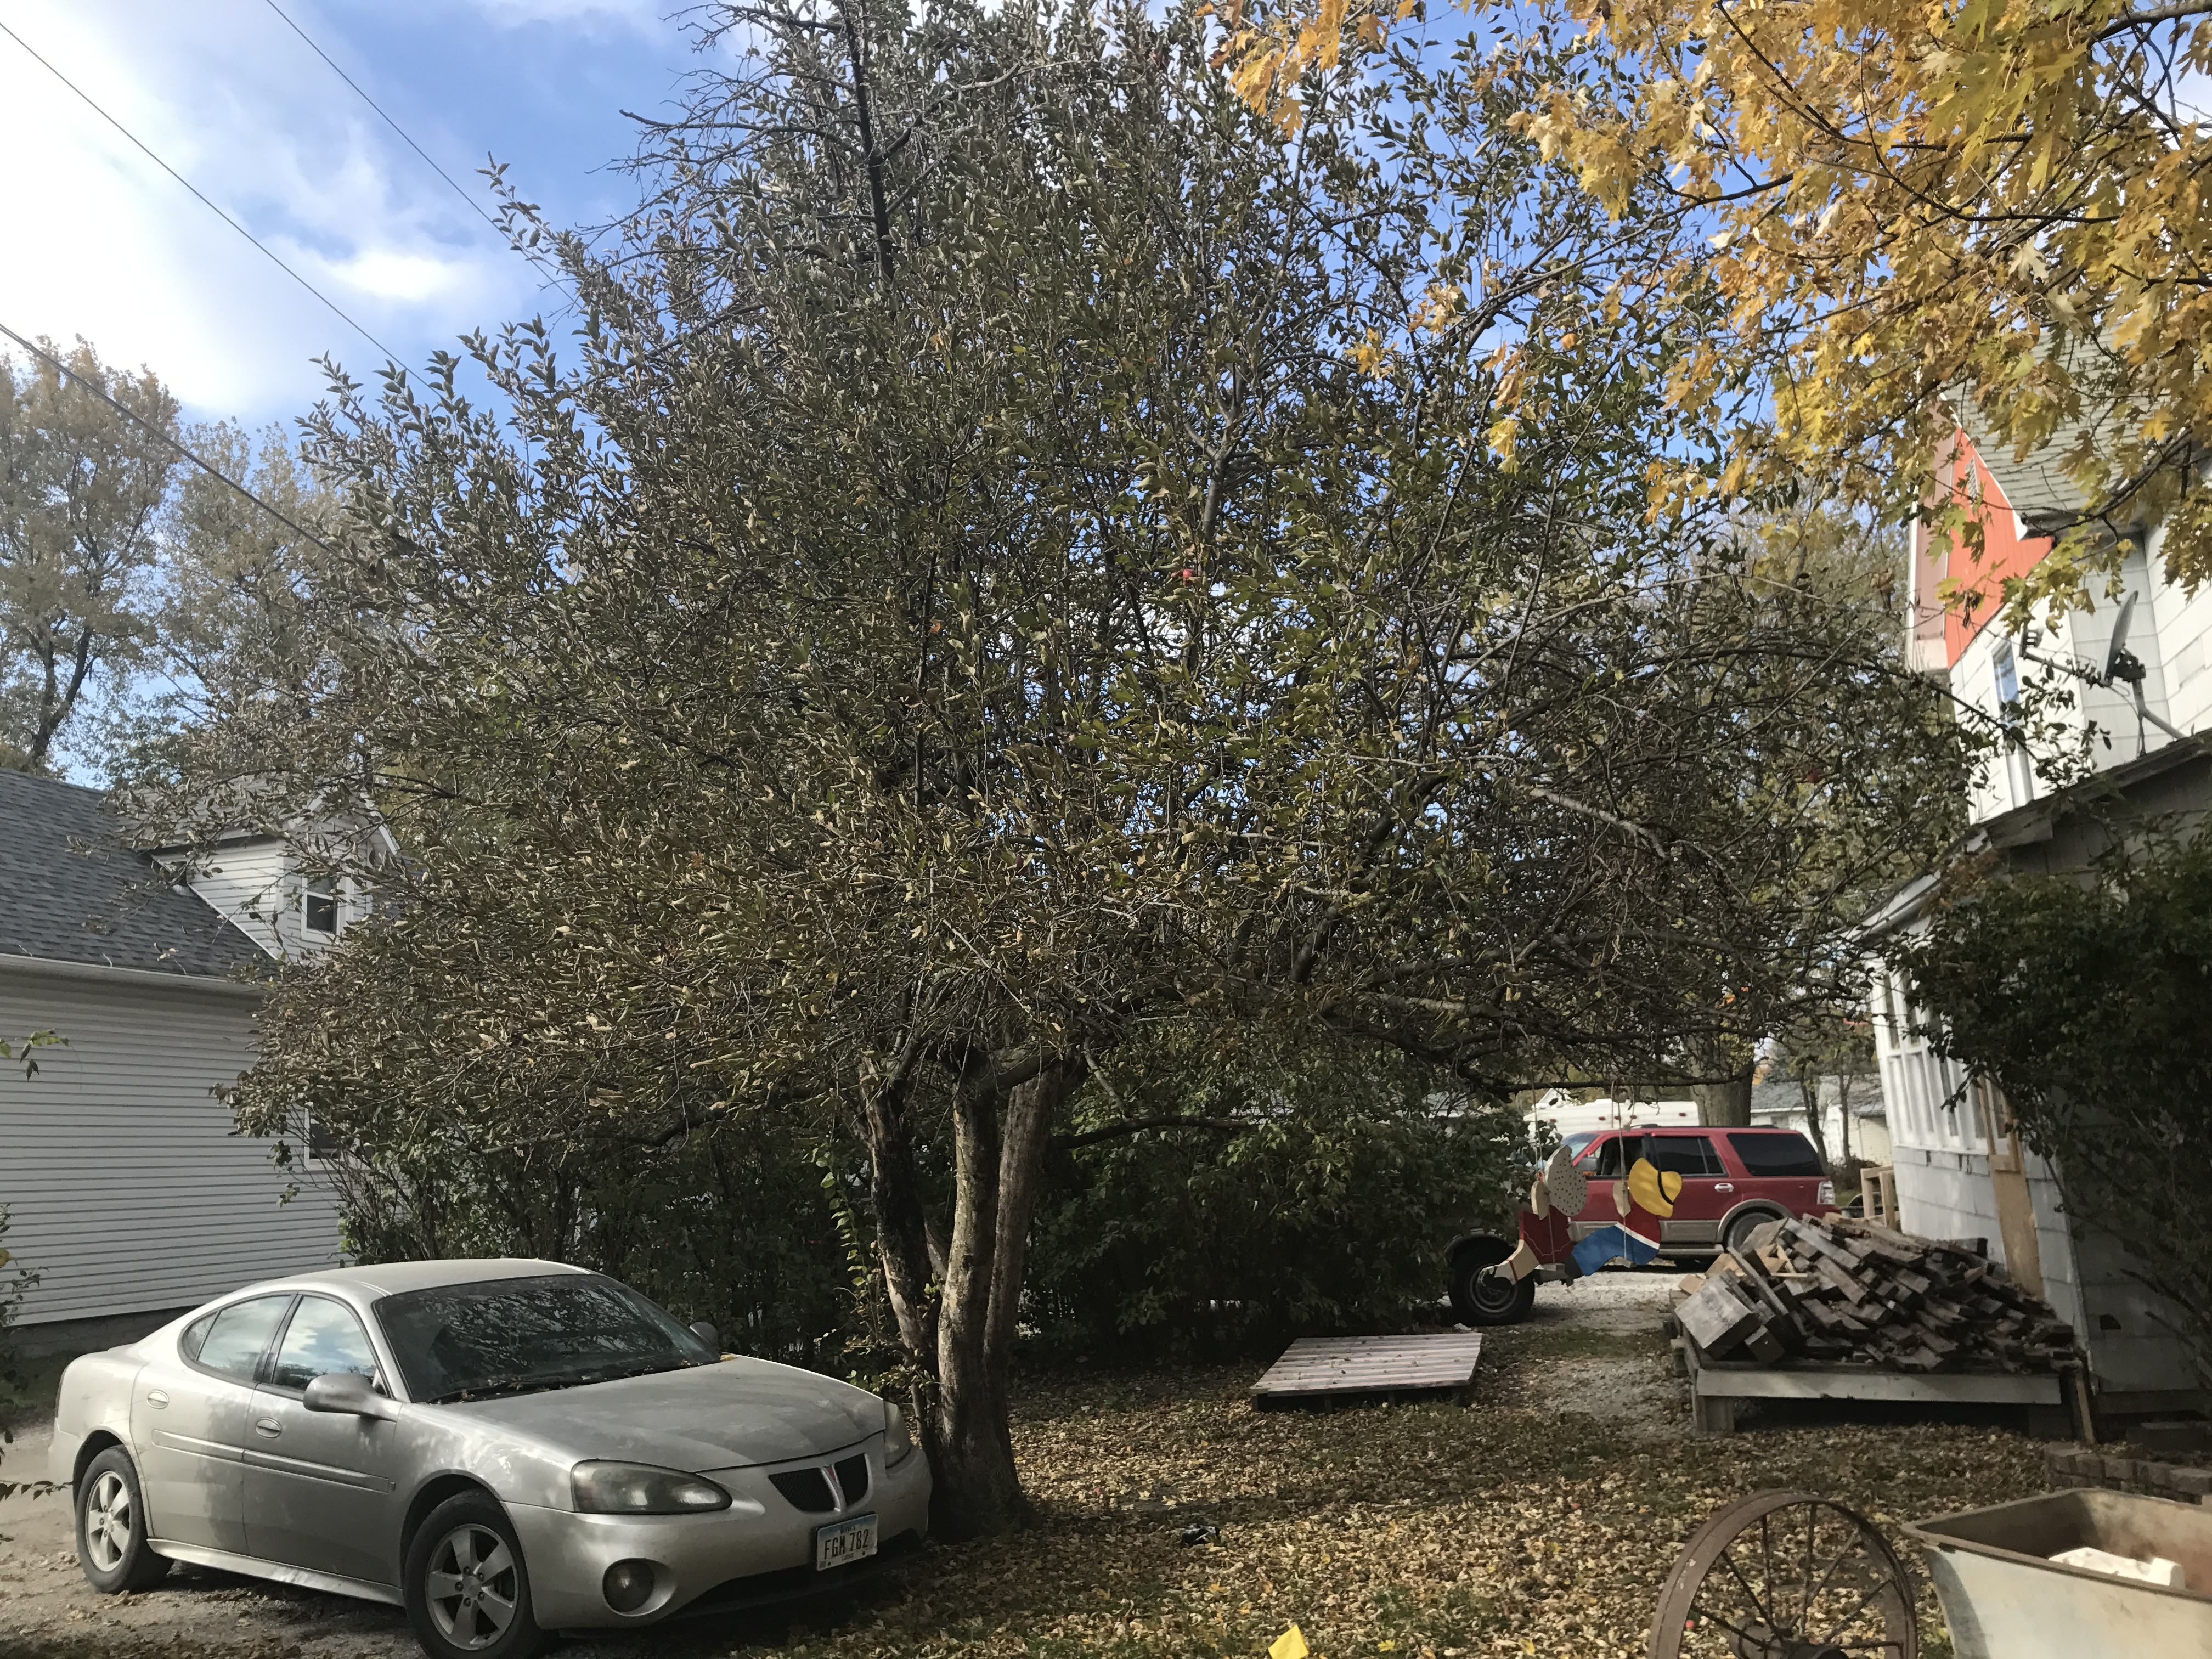
Our neighbors house and driveway.
After careful thought I think our pond is better suited for the catfish. It is only about 8ft deep at its deepest and the bullhead can live with less oxygen when the pond freezes in the winter. They also breed easily in a farm pond and you can always catch bullheads anytime of day or night. Even though the bullhead doesn’t have a very good reputation with most game fisherman they are very good to eat especially in the spring and fall when water temperatures are cooler.

The species of Bullhead we have is the yellow Bullhead catfish. Most pond owners don’t want the bullhead to get into their pond because they breed very fast and can quickly take over a pond. Also with the bottom feeding habit of this fish it keeps the mud on a pond stirred up which causes water clarity issues.
Bullheads eat just about anything, insects, tad poles, vegetation, snails, minnows, dead fish, marshmallows, pieces of hot dogs, worms, chicken livers, shrimp and catfish stink baits. We use night crawlers to catch ours. Right now there are so many bullheads in our pond, you can cast out a line and catch one in just a few minutes so it’s a very good fish to introduce fishing to new comers to the sport. The only trouble is there are so many fish that they have eaten up most of the natural food in the pond and are not very big because of it. Our solution is to start feeding the bullheads with a commercial floating game fish food that some catfish farmers use.

We are using Purina Game fish Chow but I have herd others using dog food with great success.
We have also just stocked our pond with 5 pounds of fathead minnows. The bullheads and other game fish will eat these too.

The fathead minnow is a prolific breeder and will start breeding once the water temperature reaches 64 degrees F and will keep breeding until water temperatures drop below 64 degrees come fall.
Like most things here on our farm we don’t have any experience with this and are learning as we go. I would like to hear from others who have had similar experiences with their farm pond. If any body would like to catch a mess of catfish, come on down, ya hear!

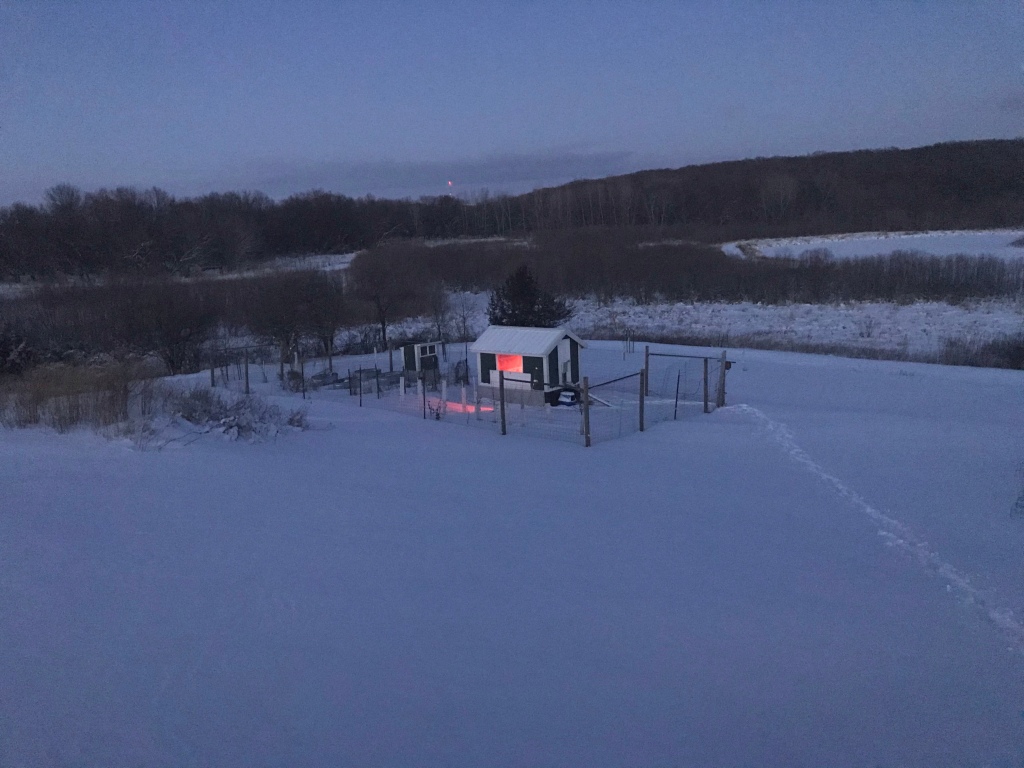
 Hi everyone, we are all well and we are still living the dream here in south central Iowa on our 40 acre farm. Sorry it has been a long time since I have posted, it seems Like once you start living the dream and not just dreaming about it you don’t feel like writing about it as much. I hope to do a better job this winter.
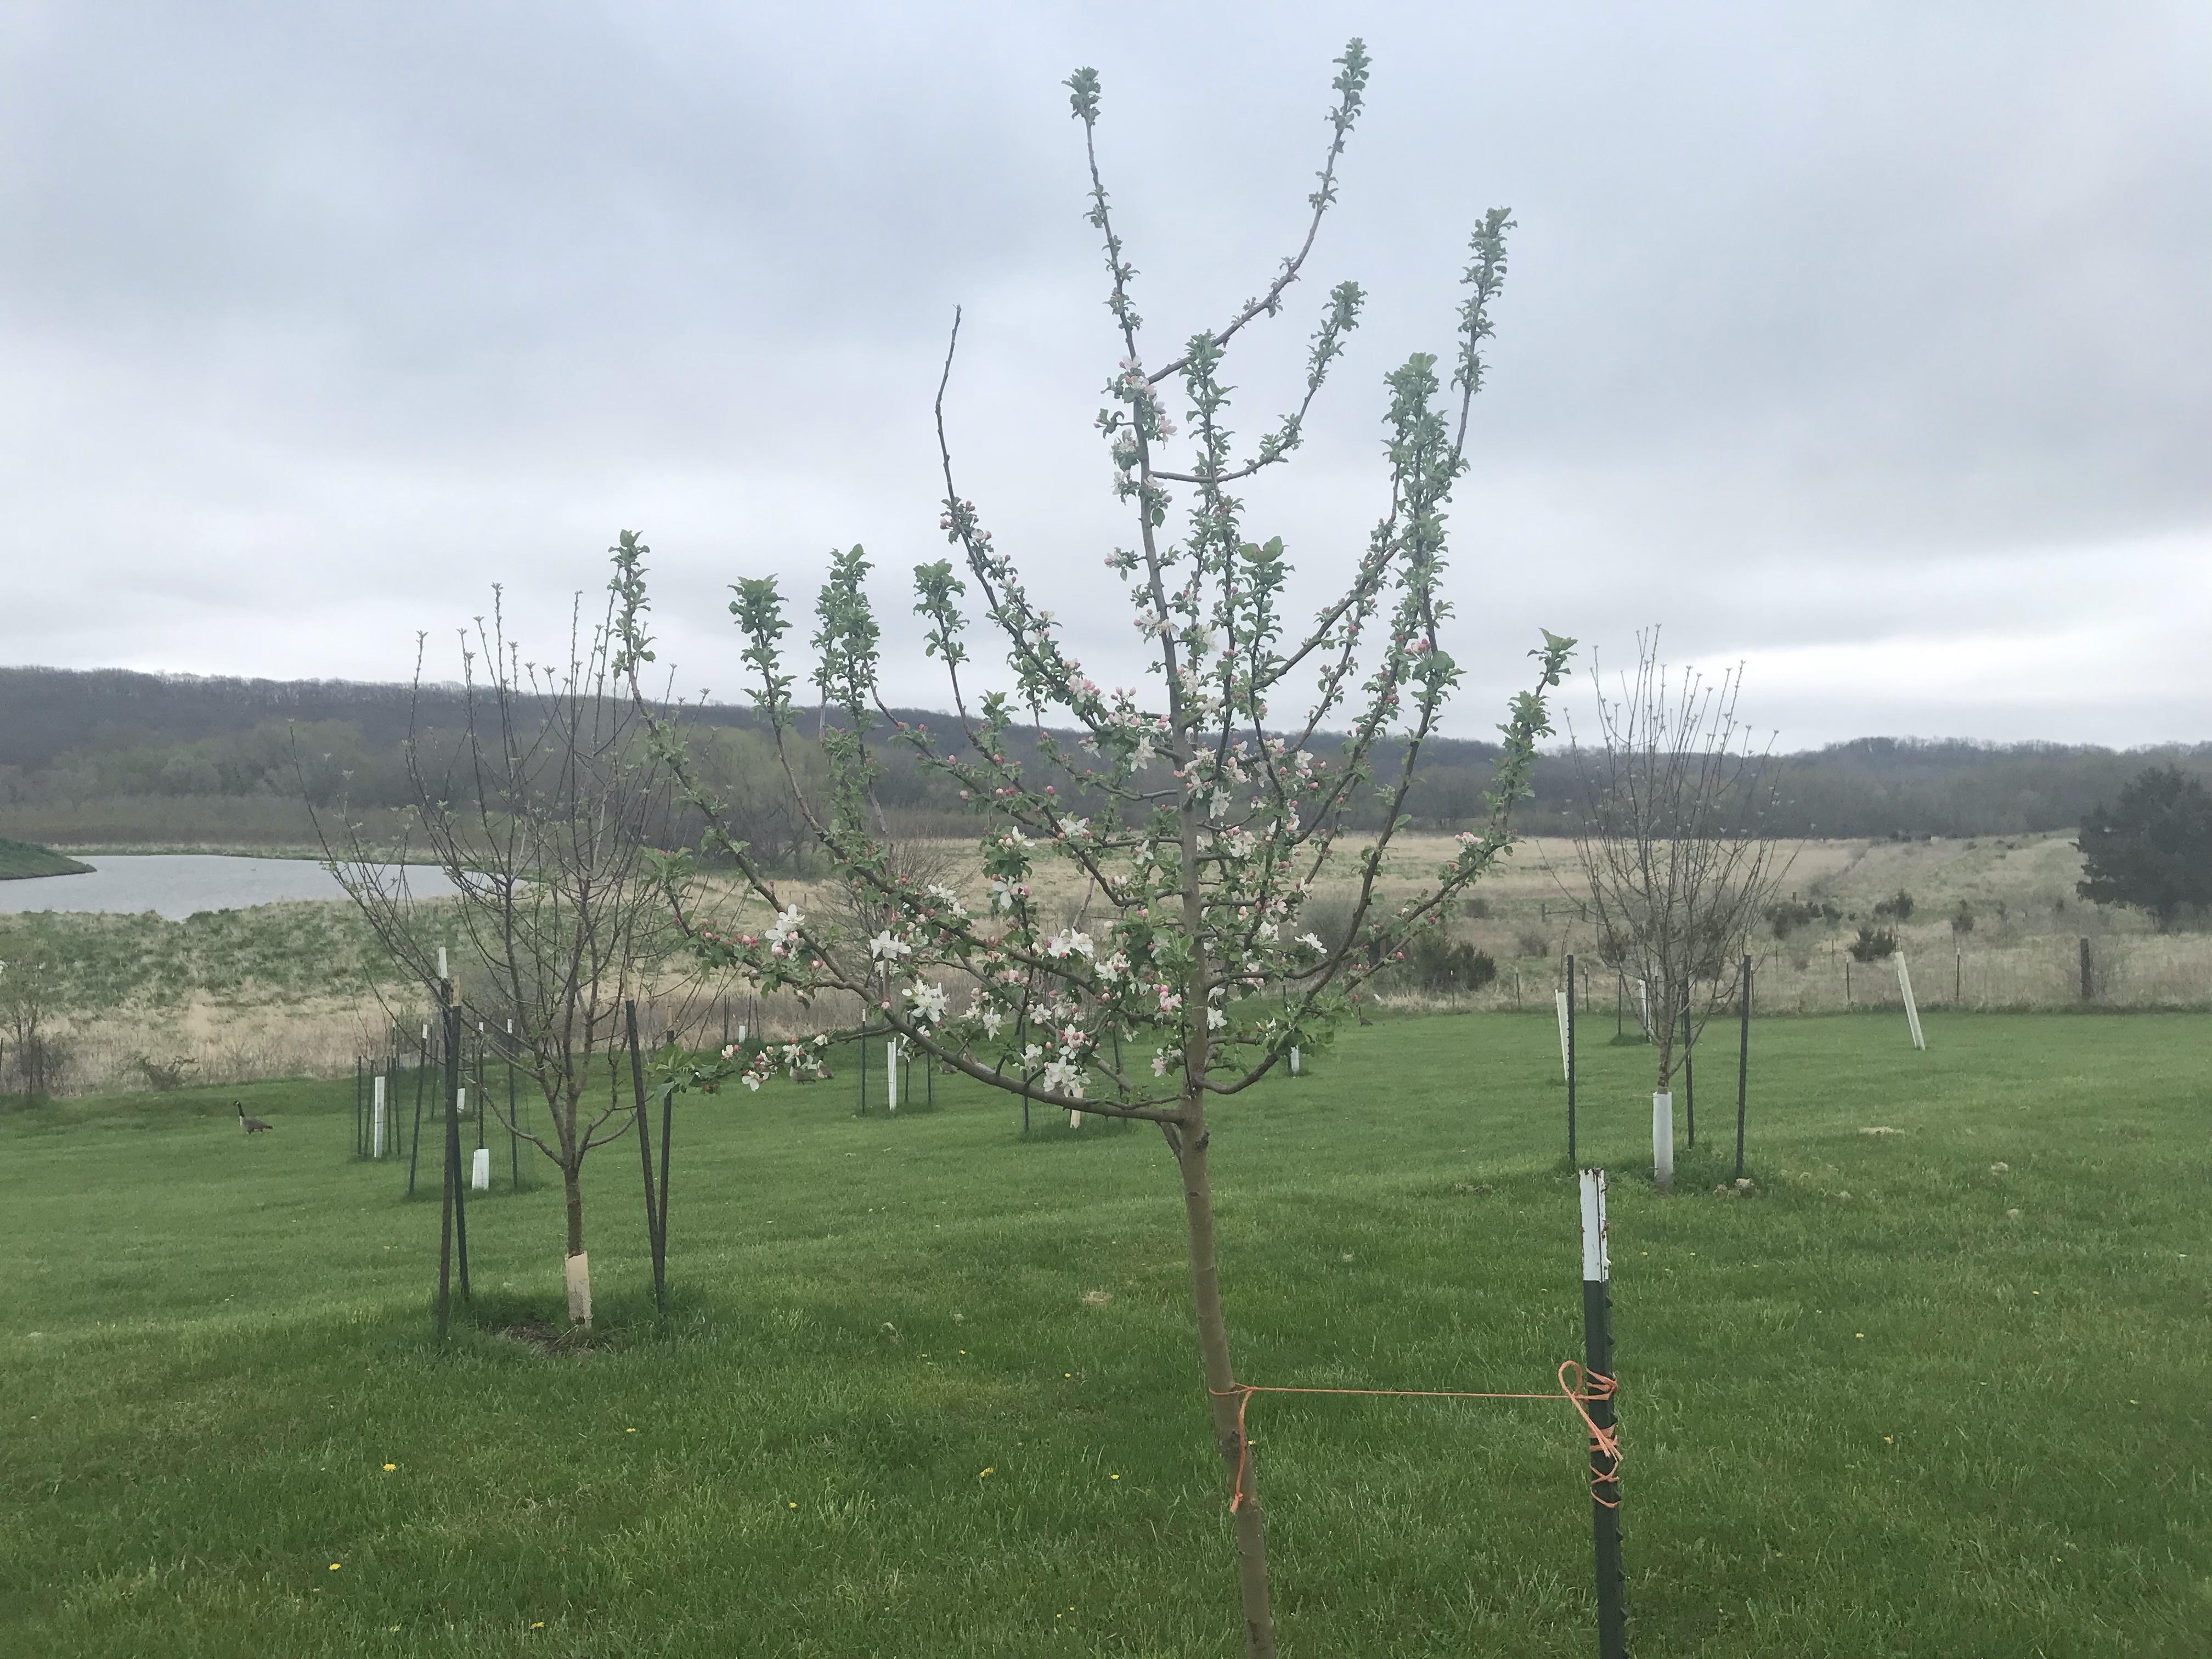
 We have built a leanto on to our barn for more storage and put in sidewalk from the house to the barn. We have insulated the barn and we have added a 1000 gallon rain water tank to help keep the garden, orchard, and chickens watered during times of drought.
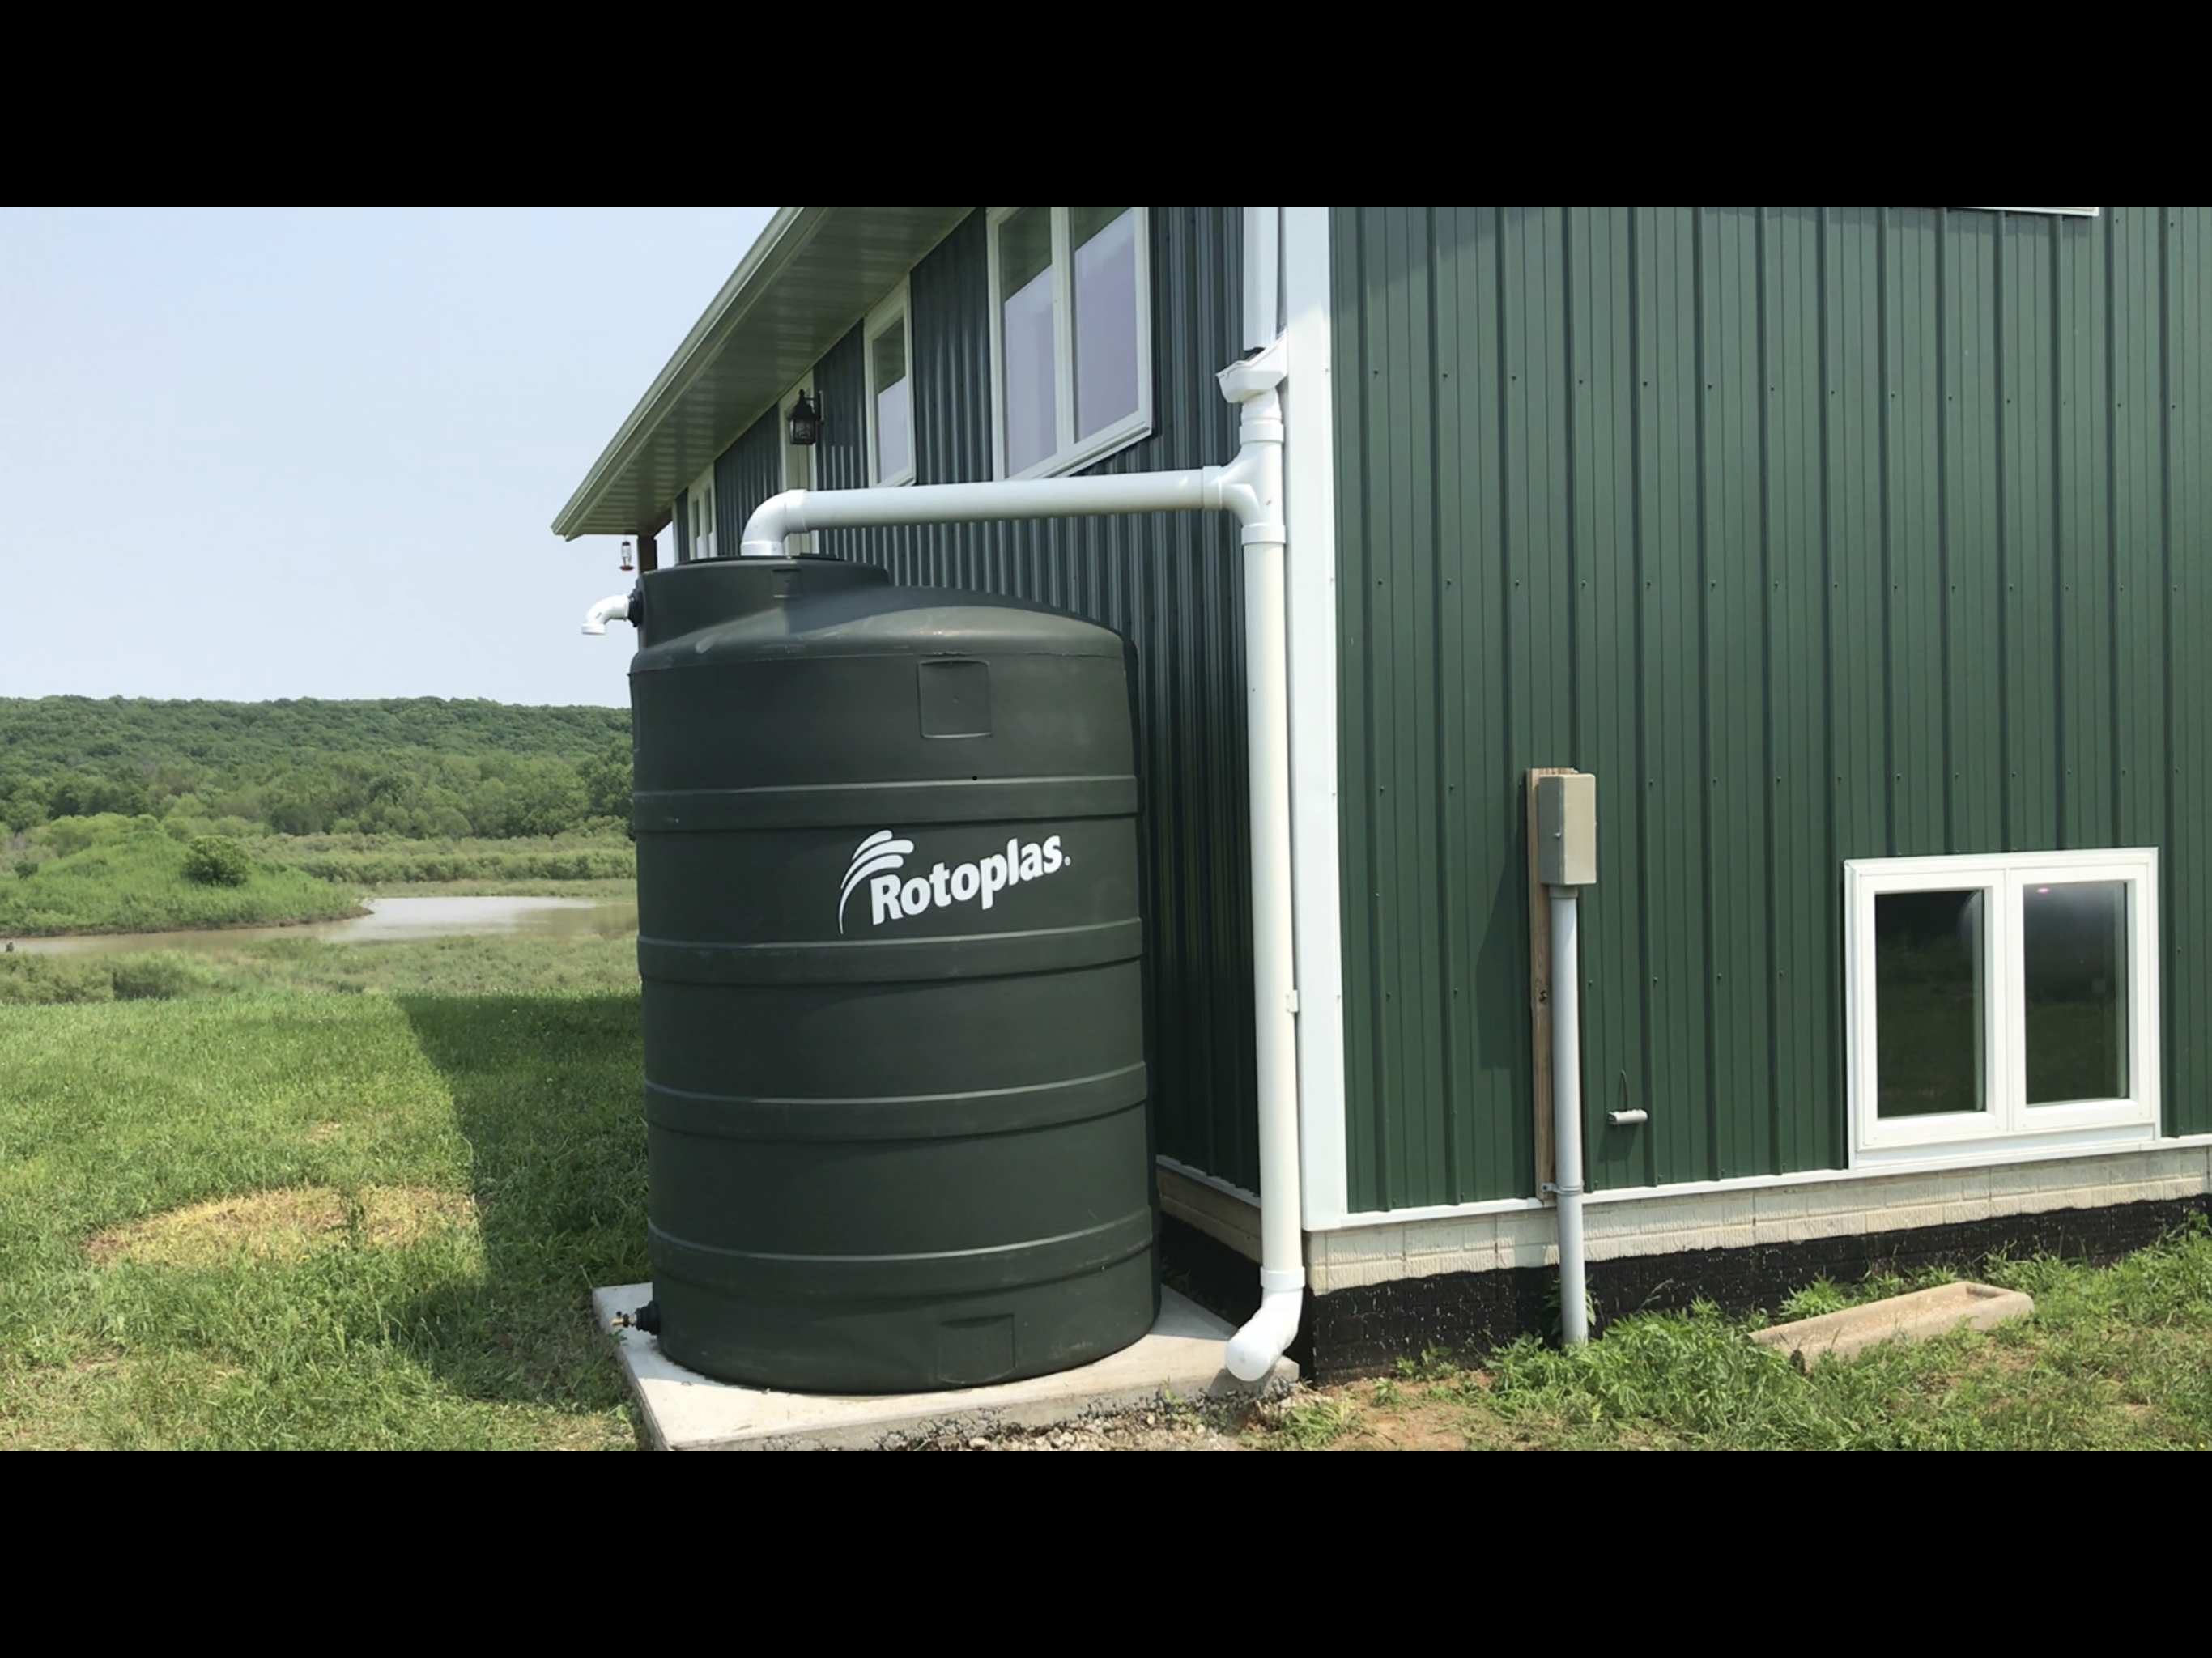
 Hi everyone, I have some sad news that we are selling our farm and that means ending this blog. Sometimes your dreams and the life you plan for doesn’t mean it’s the life you are supposed to have and thats is what’s happening with us. We have decided to do something different and sell the farm. I know I will miss it every day for the rest of my life but farm life can be lonely. I want to thank each and every one of you who have read and followed this blog and you have made it a big success with over 1.8 million views. So thank you so much. So this is good bye, love you all.c


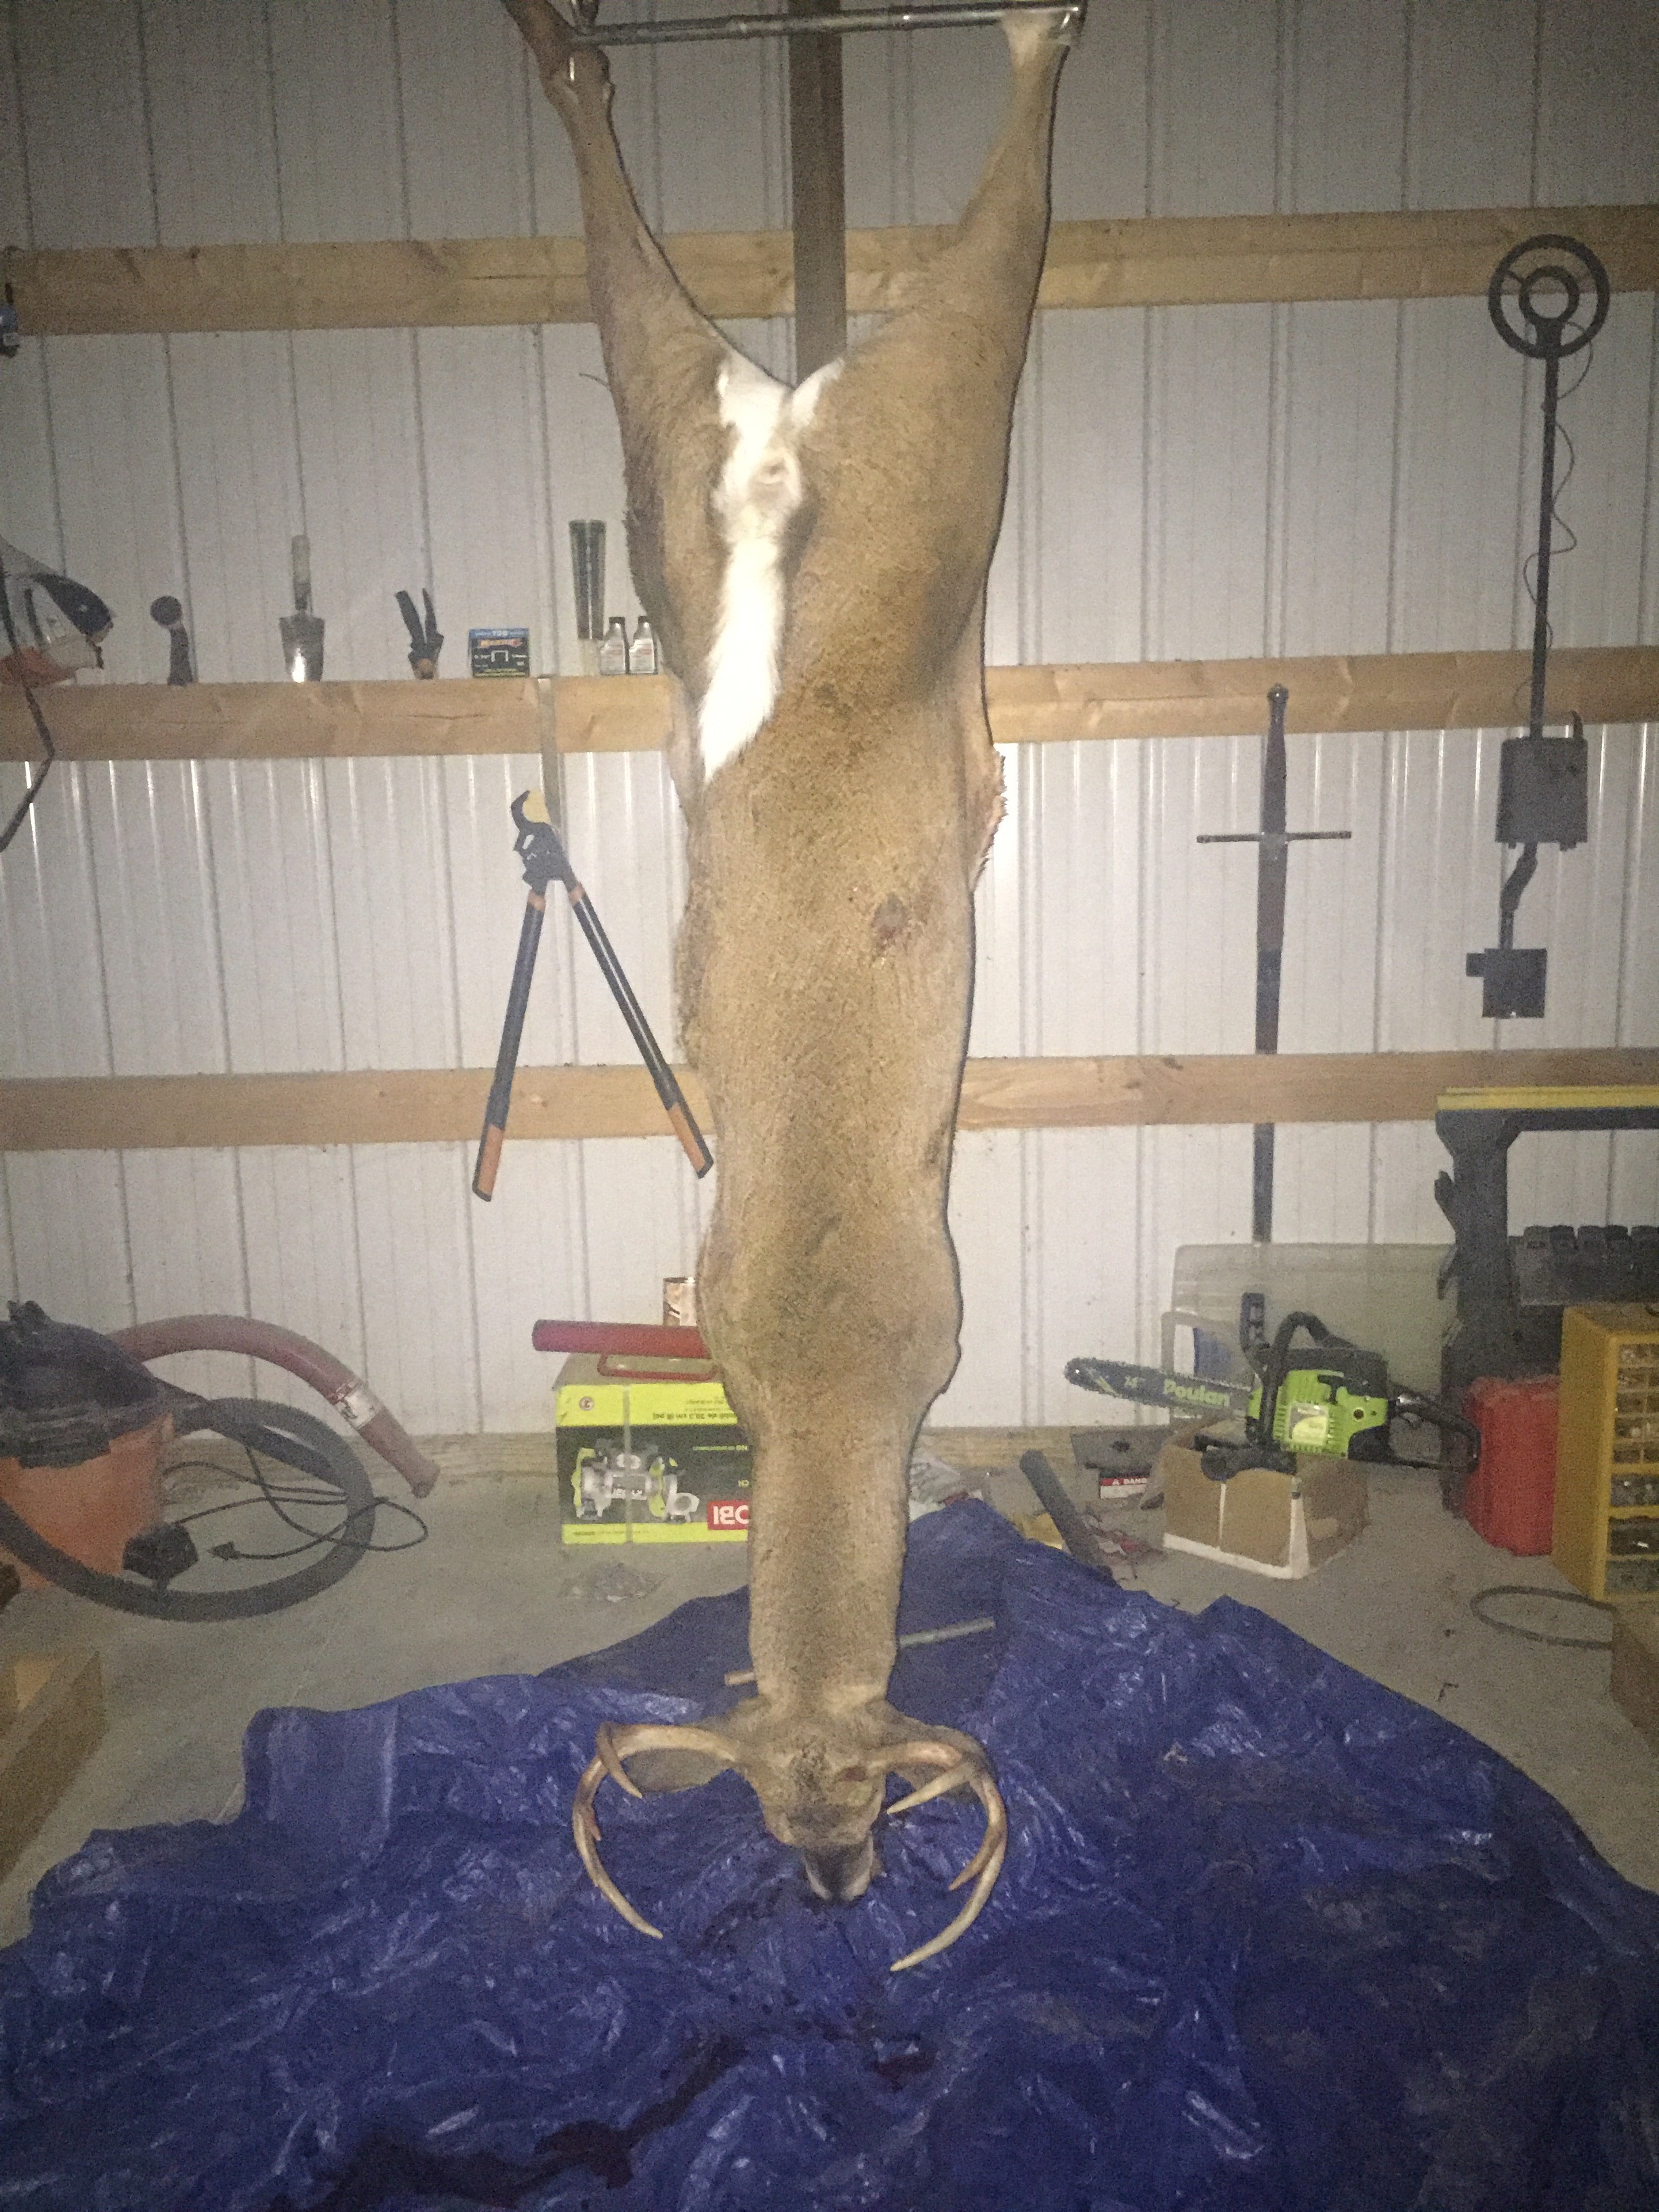 During the early muzzle loader season here in Iowa, I was able to harvest our first deer. It is a small buck by Iowa standards but will provide a lot of good meat. I plan to get one more deer and that should provide enoug meat for my wife and I for the year.
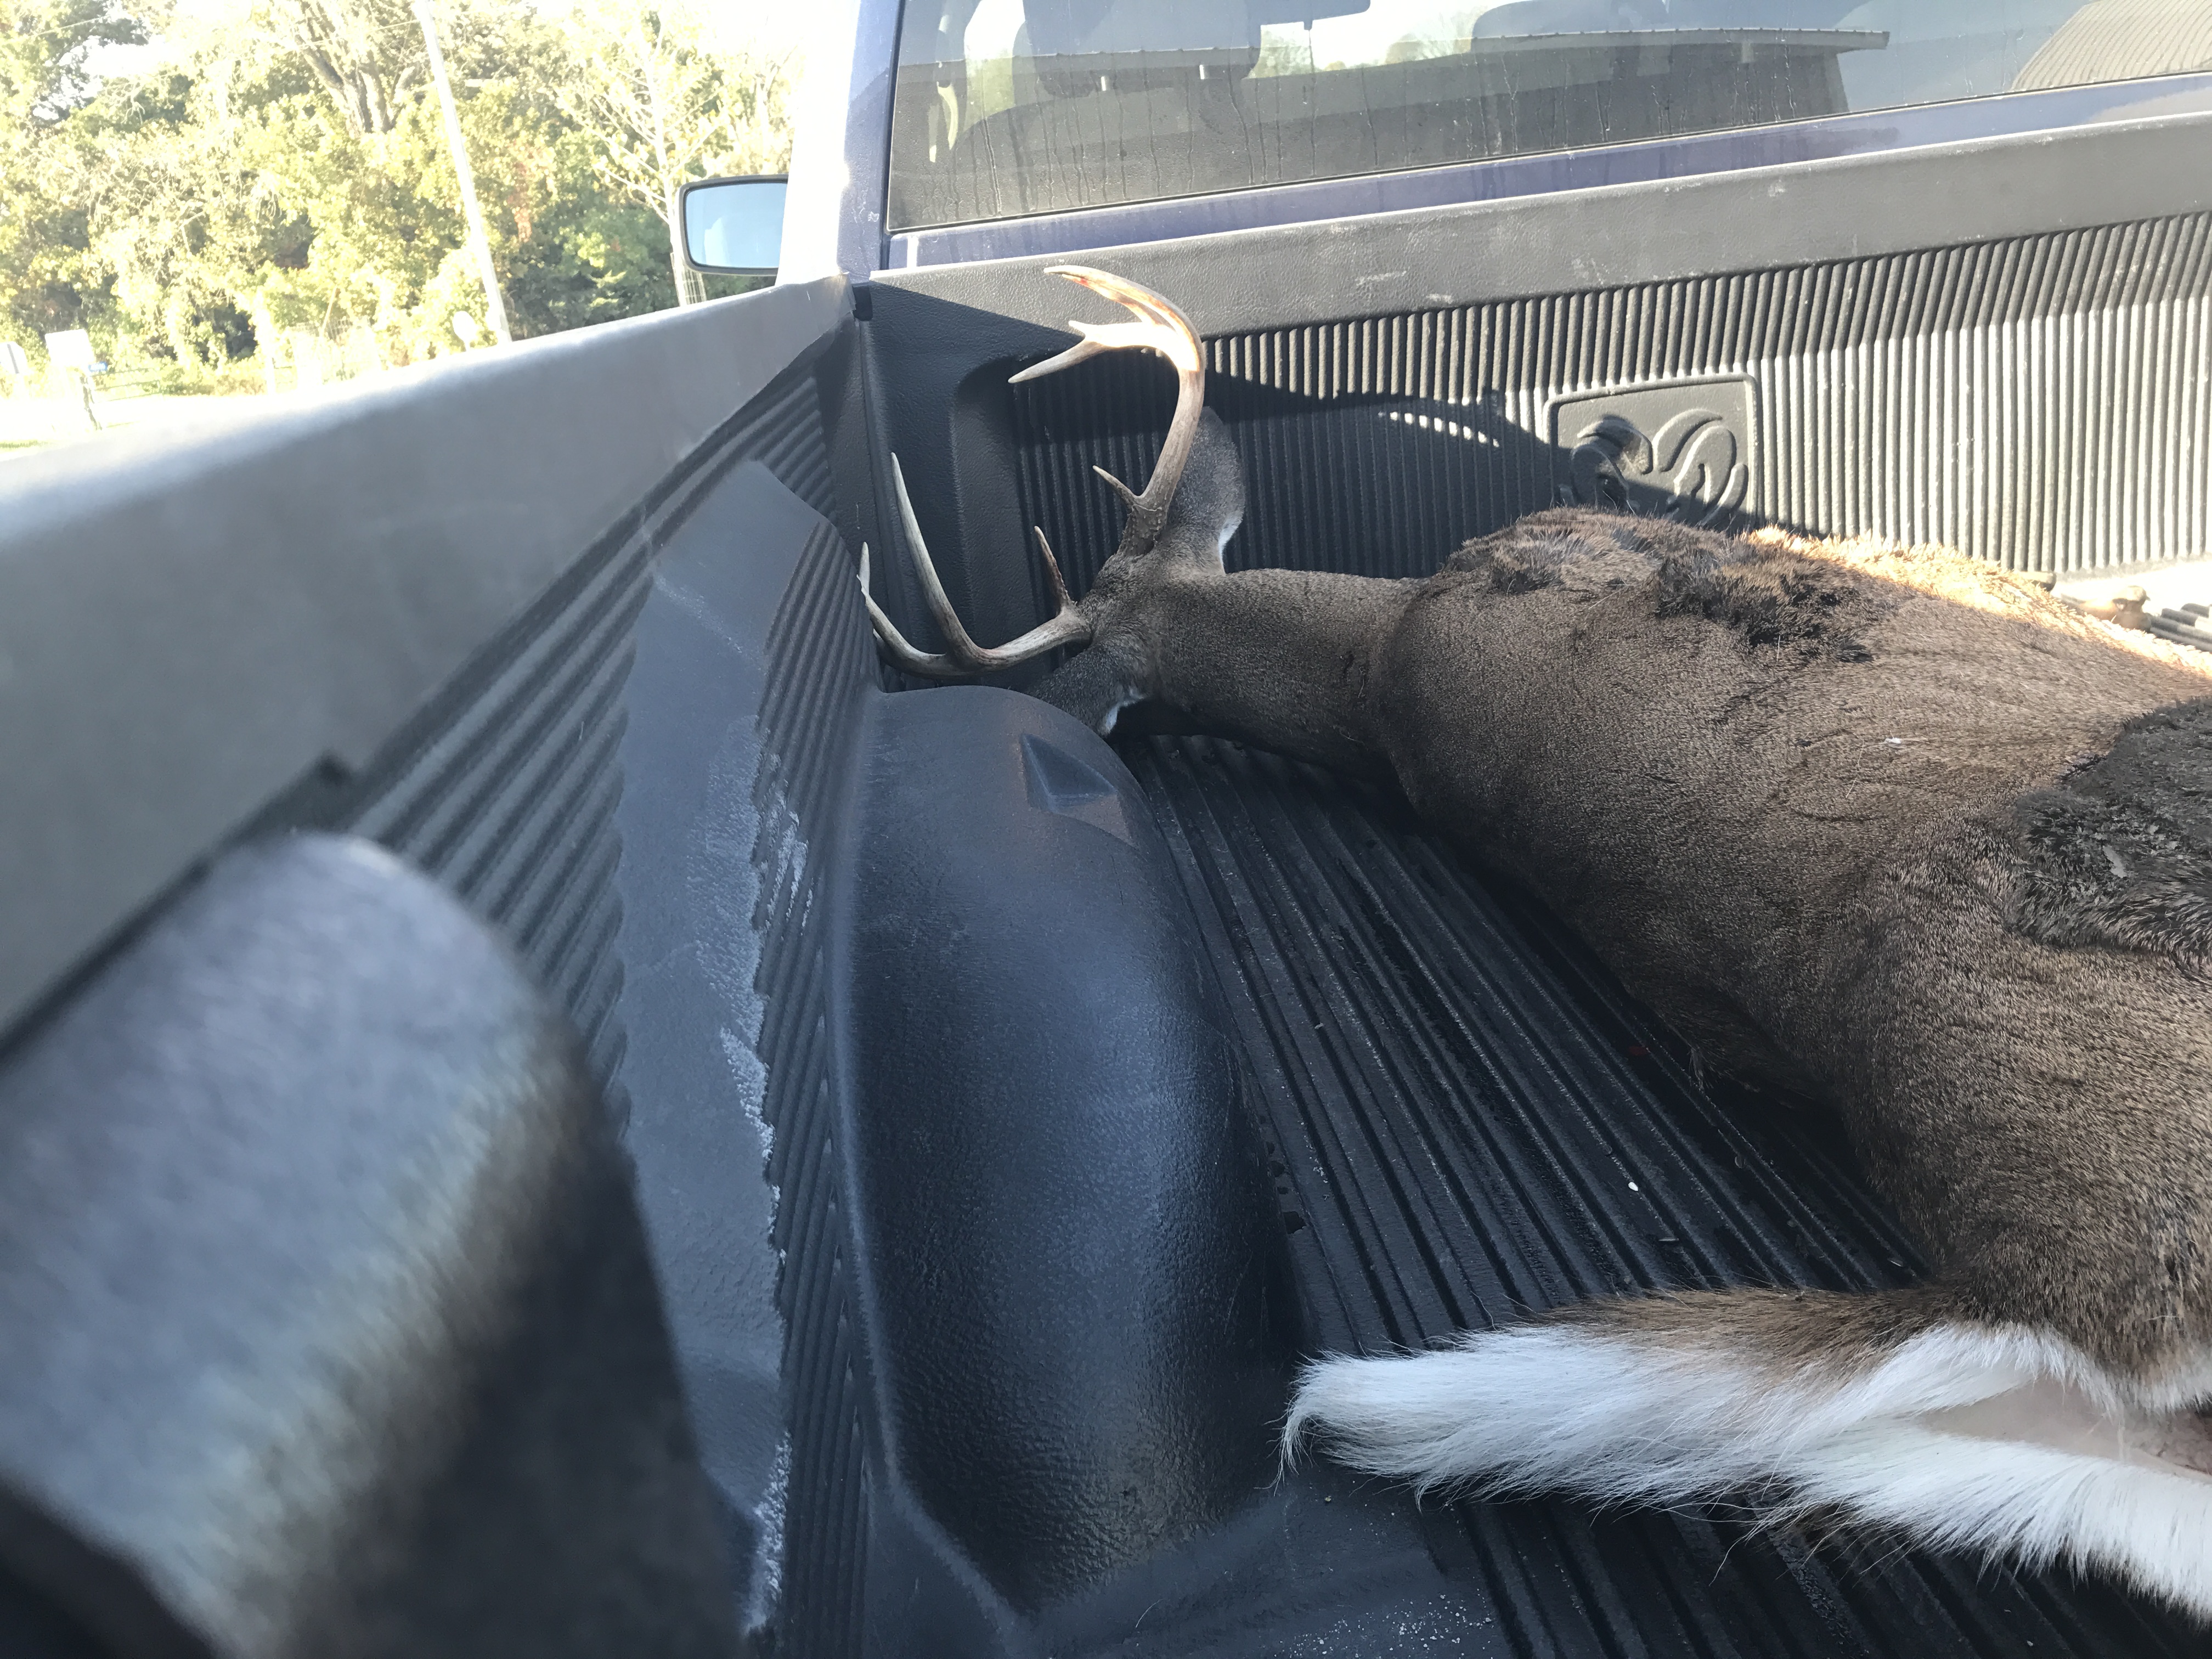 Being a land owner here in Iowa I can harvest up to 3 more deer and may harvest a doe that is by herself for my next deer. Happy hunting everyone.